Pages

Friday, September 24, 2010

Chicken Fiesta Enchiladas

A bunch of leftovers was combines to make these amazing enchiladas. I used the base recipe from my Creamy Chicken Enchiladas and tried to make it a bit healthier and fresher. We've also been looking at cutting back our meat consumption to help control grocery costs and focus on eating more fruits and veggies. This meal does both. My husband likes these even better than the original.

10 - 12 Tortillas
1 c Chicken, cooked and shredded
1 c Sour cream
1 t Taco seasoning
1 sm can Green chilis, drained
8 oz Monterrey Jack cheese, shredded & divided
1 c White rice, cooked and cold
1 c Corn
1 c Bell pepper, chopped
1 can Green enchilada sauce

Mix together the soup, sour cream, taco seasoning, and green chilis. Add in the chicken, rice, corn, peppers, and 3/4 c of cheese and mix together. Spoon about 1/3 - 1/2 cup of the mixture into each tortilla and lay in a 9 X 13 baking pan*, seam side down.

Pour the enchilada sauce over the filled tortillas and top with the remaining cheese. Bake in a 350 degree oven for 30 - 40 minutes until bubbly and the cheese is lightly browned. Serve with lettuce, cilantro, chopped tomatoes, sour cream, or other garnishes of your choice.

* I usually split this into 2-3 meals for my husband and I since it isn't a favorite with my kids. It freezes well.

Thursday, September 16, 2010

My Newest Endeavor - Etsy

I've taken a bit of a break from the kitchen to spread my creative wings in another way.

I am very excited because I just launched a store on Etsy.com (similar to ebay but they host sellers of handmade and vintage items). So far I just have aprons up there, but soon hope to be adding collections of baby items, blankets, quilts, holiday decor, linens, etc.

I called it Domestic Artistry because I love the idea that my home and family are a canvas. The art that I create (cooking/baking, sewing, scrapbooking, decorating, kid ideas, etc) is meant for making life more beautiful and memorable - and hopefully enjoyable.

Check it out on Etsy under DOMESTIC ARTISTRY

Monday, September 13, 2010

Apple Sandwich

For dinner tonight, my friend Trista and I made these yummy (and messy) apple sandwiches. We put two apples through my handy-dandy apple/peeler/corer/slicer and than cut the apple into rings. If you don't have one of these devices, than simple core the apple and slice the apple into thin rings.
  • Lay out each of the rings, and spread your favorite nut butter (sunbutter, peanut butter, almond butter, cashew butter, etc) on each slice.
  • Sprinkle your favorite toppings on on the sunbutter (which we used) - like chocolate shavings or chopped chocolate chips, raisins, chopped nuts, seeds, or pretzel bits.
  • Lay a sunbuttered apple slice on top of the sprinkled apple to make the "sandwich"
The kids all gobbled them up. Think this may become a new favorite after school snack. Sorry no picture. The kids were WAY too hungry (okay, and the moms too) to wait for a picture. I'll try to get one next time.

Friday, September 10, 2010

Roasted Pumpkin Seeds

This is one of the treats I love about autumn. If you've processed pumpkins to puree or have seeds from the pumpkins you've cut into jack-o-lanterns... then this is your reward.

Remove the strings and pulp and rinse thoroughly. I usually let mine soak overnight. Some boil theirs for 5-10 minutes to soften the shells. After patting the seeds dry, drizzle with a bit olive oil. Toss seeds (2-3 c) with the following mixture:

1 1/2 t Sea Salt
1/4 t Paprika (or chili powder if you want some kick)
1/4 t Garlic Powder

Spread out on a cookie sheet or cake pan. Bake at 400 degrees until golden brown (10-15 minutes). Remove from oven and loosen with a spatula. All to cool completely. Store in an air tight container. Snack away.

Thursday, September 9, 2010

Homemade Pumpkin Puree

Evidently there was a pumpkin shortage last year. I've been unable to get any canned pumpkin in quite awhile. I got tired of waiting so I made my own...

My favorite organic stand at the farmer's market had pie pumpkins for $1 each, so we snatched up three of them. From those pumpkins I now have about 16 cups of pumpkin puree. Not bad for $3 and just a little bit of work.

Start by washing off the pumpkin and cutting it in half. Scoop out the seeds (save for roasting) and strings and place cut side down on a baking dish. Pour water into the dish to about 1/4" depth. Roast in a 350 degree oven for about an hour. Test with a knife to see if the skin and flesh can be easily pierced. Note: the pumpkins may appear "caved in" but that's good. Allow to cool slightly and scoop out the flesh. Discard the exterior shell. In a food processor or blender add a small of water at a time to pumpkin to bring to a smooth consistency. You don't want lumps, but you don't want it thin and runny either.

Place puree in a strainer lined with cheesecloth to allow the liquid to drain from the puree and give a good thick consistency. The liquid drained can be used to puree more batches of pumpkin rather than water.

Use in your favorite pumpkin pancakes (Gluten-free version), pumpkin apple muffins, pumpkin trifle, pumpkin cheesecake or other fall delight. Can be frozen in muffin tins or in freezer bags.**

**Tips: Pictured from left to right. When using freezer bags, roll the zipper portion over the outside of the bag when filling. This keeps from getting puree in the tracks and making a mess. When you're ready to close it up unroll the zipper part to stand upright. Seal the bag 4/5 the way and roll out any air in the package. Lay the package flat to freeze.

Tuesday, September 7, 2010

Homemade Chicken Broth

So if you are looking for exact measurements, this is not the post for you ;) but keep reading anyway. I greatly dislike paying large amounts of money for flavorless chicken stock in the store. And guaranteeing that it is gluten-free is another thing. So I've decided to make my own. I've frozen and canned it and find benefits to both methods. More on that later. Let's start at the beginning.

First I start with 1 onion, 2-3 stalks of celery, and 3 carrots (all roughly chopped) in a large stock pot with a bit of olive oil. Over medium heat, I soften the veggies and let the little bits of brown bits (caramelized goodness) collect on the bottom, stirring occasionally.

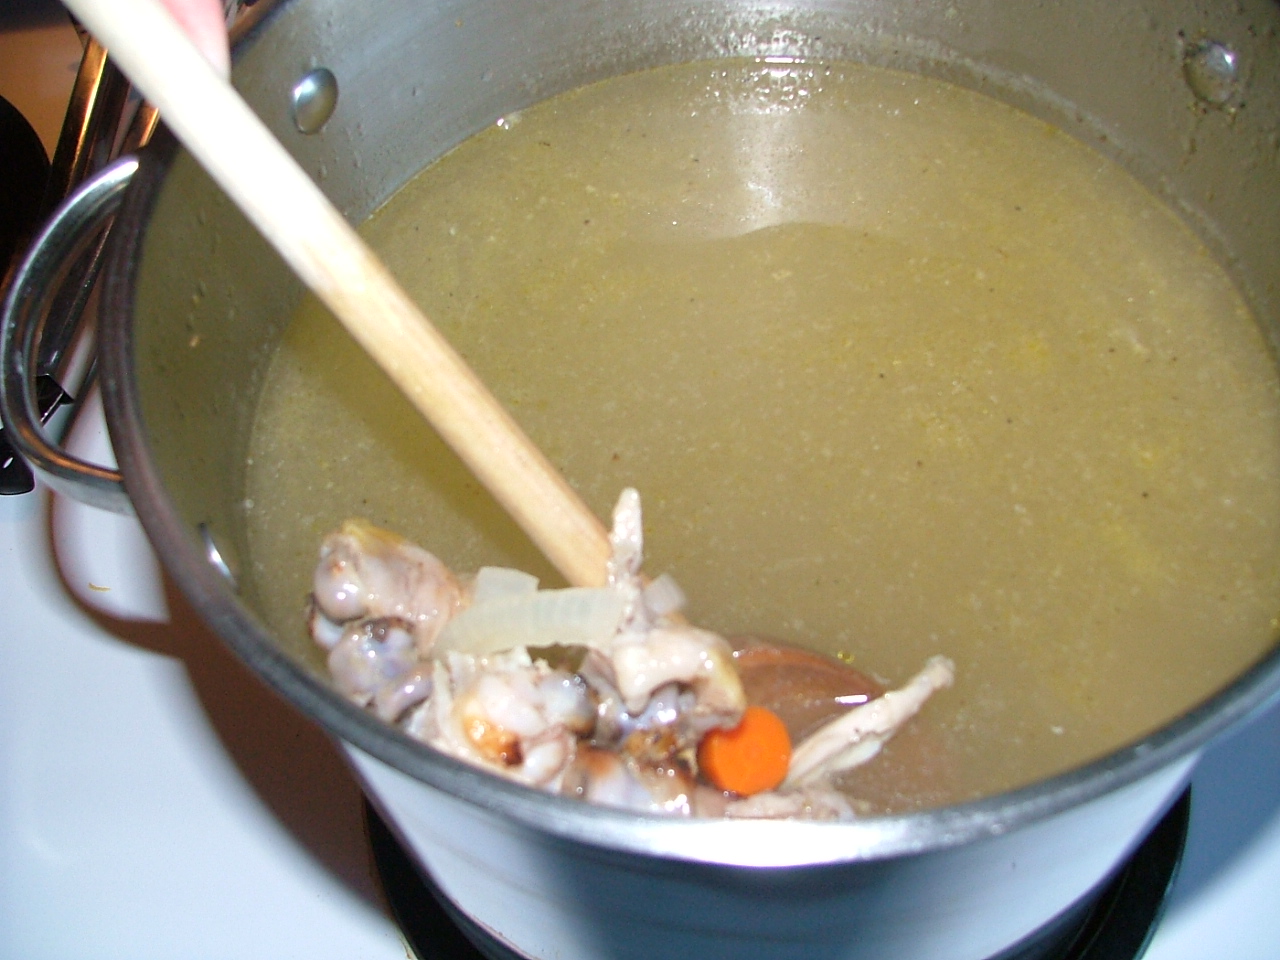
At that point I add 2 cups of water and use a wooden spoon to loosen any of those bits and color from the bottom of the pan. Then I add chicken bones (just the ones left over from dinner) and another 14-22 c of water to the pan. Season with 3 t of salt and 1 t of pepper.

Bring the pot to a rolling boil and then reduce to medium-low heat. Stirring occasionally, allow to simmer 2-3 hours.

When it's finished you have a beautiful broth. Strain out the veggies and bones and allow to cool completely, and refrigerate. You can freeze it in jars (be sure the lid isn't closed tightly because the jar with break - not that I learned by experience or anything), 1/4 c portions in muffin tins (pop out and store in freezer bags), or can it.

For canning, reheat the broth and pour into a hot jar. You'll need to process it by using a pressure cooker. I learned the hard way that hot water baths don't kill the bacteria and you end up with nastiness in a jar.

This is any easy production following dinner. I through everything in the pot after dinner and let it simmer away for the evening. I stash it away in the fridge and then either can it or freeze it the next day. It costs almost nothing and is a great way to use up those wilting veggies left in your refrigerator door.

At this cost I use it to cook rice in and sometimes pasta. Bring on the soups now at half the cost.

** Note: Another great way to make broth is not only to use the bones, but a the chicken on the bone. That will give you the richest possible broth. In the winter I do this method. But while the weather allows, I would much rather eat grilled chicken.

Monday, September 6, 2010

Freezing Sweet Corn

There is nothing like the taste of fresh summer sweet corn. Sorry Green Giant and other manufactures... it's just not the same. So I'm stock piling the summer goods to get me through the long winter.

It's SUPER simple. Put a couple of big pots of water on to boil while you husk all of your corn and get it ready. Fill a large bowl of cold water or a clean sink water plus ice. Put the corn in a boiling pot of water for 4-5 minutes to partially cook it. Then submerge it in the ice water to stop the cooking. When it is completely cooled, set it aside to dry.

Here's my tip to start with - be prepared with LOTS of ice. Get your ice maker pumping it out in advance and bag it up or head on out to the convenience store and pick up a bag. It will make your life a lot easier. The hot corn heats up the water quickly.

When the corn is cooled and dried off, Cut the corn off the cob and set it aside to bag when you are done. I package corn in serving size for our family 2-3 c in a freezer bag.

Then seal up the bag except for a about 1 inch on the end. Roll the bag to squeeze out as much of the air as possible and finish sealing the bag.

Finish by flattening out the bag and corn so that it lays flat. Takes some squishing and moving around to even it out.

By freezing the corn laying flat, you can than stack them upright in a tote or box and save yourself much of the room in the freezer.

When you feel like some sweet summer corn, heat on the stove top with a bit of water or in the microwave for about 5 minutes.

Sunday, September 5, 2010

How to Series

I've been busy putting up summer produce and getting my oldest off to school. That has meant not much posting and definitely not much in the way of cooking and creating new recipes. The good news is school has started and life is SO much easier with one (who starts pre-school next week) than two who've had a very long summer together. Hopefully that gives kiddo #2 and me more time in the kitchen to play.

In the process of putting up all sorts of goodies, I've had several requests and questions about "How did you do that?" referring to canning and freezing different items. So here are a few things to look forward to attempting to answer those questions.

Freezing:
Sweet Corn
Bell Peppers
Chicken Broth
Green Beans
Pumpkin Puree

Canning:
Peaches
Applesauce
Chicken Broth

Making:
Chicken broth
Applesauce
Pumpkin puree
and more.

Saturday, September 4, 2010

Apron Model

The apron giveaway winner Shirley was willing (only because I asked really nicely) to show off her new apron that's she's already put to good use. Thanks for sharing Shirley and hope that you put it to good use.

I'm considering opening an store on Etsy to sell these aprons along with some of my other creations. Any thoughts? Ideas for a name?

Wednesday, September 1, 2010

Apple Carrot Slaw

I made this for dinner tonight. I really enjoyed it, my husband and kids - not so much. None of them are much of salad fans though.

It was a nice light side dish and I'll make it again. I might play with the recipe a bit. Next time I might try adding some coconut or almonds. I also might swap apple cider for the lemon juice.

3 Carrots, grated
2 Apple, peeled cored and grated
1 1/2 T Olive oil
1 T Lemon juice
2 t Sugar or agave
Salt to taste
2 T sunflower seeds
1 t Sesame seeds

Toss together carrots, apple, and seeds in a large bowl. In a separate small bowl, whisk together olive oil, sugar and lemon juice. Add salt to taste. Drizzle dressing over carrot and apple and toss to combine well. Allow to marinade for 30 minutes. Serve at room temperature or chilled.